Chipping Lesson 3 – Grip Position
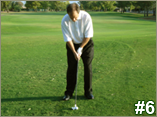
Once you have the ball in the center of your stance for a chip shot (See Chipping Picture #6 Below)…
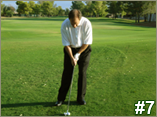
…then you need to move the grip of the golf club across from the middle of your body a couple of inches towards the target. (See Chipping Picture #7 Below)
There’s a couple of important reasons why you need to move the grip towards the target.
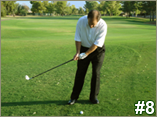
The number one reason is to make sure the head of the golf club swings up in the backswing. (See Chipping Picture #8 Below)
If for a chip shot you start with the grip in front of the clubhead, the club will swing up in the backswing, which will create a steep angle in the downswing and this is exactly what you want to hit successful chip shots.
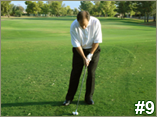
The second important reason to make sure the grip of the golf club is in front of the clubhead at address is to encourage that same position at impact. (See Chipping Picture #9 Below)
Keeping the grip in front of the clubhead throughout the chipping swing will ensure a steep angle in the downswing. Since the clubhead angle is so steep, the clubface will make contact with the ball first instead of the leading edge.
So let’s recap what we have covered so far in this grip position chipping lesson. At setup, after you center the ball between both feet and you have the grip a few inches in front of the clubhead (across from your belt buckle), you will be ready to move onto the final set-up position which we will cover in the next chipping lesson.
 About The Author: This article was written by golf professional Bobby Eldridge. Bobby has been teaching golf for over 35 years and over that time he has given over 40,000 golf lessons. Bobby has produced a great Short Game DVD that shows you in simple terms how you can up and down it from anywhere inside 100 yards. So to improve your short game so you can become a short game magician and up and down it from anywhere simply click here to find out more about the Short Game DVD.


